
Basic yeast bread dough is the foundation to many other oven baked bread recipes such as rolls, buns, and loaves.
This is an easy recipe made even easier by using a stand mixer. If you don’t have a stand mixer, not to worry! Please read the recipe notes for instructions on how to make the basic yeast bread dough by using a bowl and wooden spoon, then kneading the dough by hand on a lightly floured surface.
Why I make basic yeast bread dough
This basic yeast bread dough recipe has become a staple in our household since moving to the Philippines last year. I used to purchase grain bread in bulk at Costco. Back then, I wasn’t quite delving into labels but just enough to make some healthier changes.
Since relocating to the Philippines, I’ve found that most of the bread on the supermarket shelves are very similar to the big brands back in the United States, with sugar being my main concern. Being health-conscious for my family is typically top of mind and I just couldn’t find a clean ingredient brand that was easily available. They do exist here, but their availability is limited where I live and I’m not familiar enough with my surroundings yet.
Once I realized that finding a healthier bread was going to be a difficult task, I decided that I needed to learn how to make bread myself. How hard could it be?
My first loaf of bread was an incredible success. I was so impressed. I wasn’t fixated on being exact and definitely didn’t think I would be creating a recipe for this website one day. So my second loaf wasn’t the same. I kept trying to figure out what I initially did, that many of my subsequent attempts were sadly failures. Not complete failures though, they were still edible. Some were more dense than others, some didn’t rise as well, but overall, edible. I kept making mistakes and taking mental notes along the way for the next time.
Once it came time to transfer the knowledge I gained onto paper, that became a whole new obstacle. Baking bread every week or so for the past 8 months became like second nature to me. Thinking through the steps and remembering my successes and failures, I’ve now been able to condense it all down into this basic yeast bread dough recipe. I am so happy to be sharing what has worked for me after much trial and error.
As an Amazon Associate, I earn from qualifying purchases at no extra cost to you. This post contains affiliate links.
Equipment
- Stand mixer with bowl (dough hook attachment)
- Wooden spoon (if not using stand mixer)
- Large bowl (if not using stand mixer)
- Measuring cups
- Measuring spoons
- Spatula
- Kitchen scale (optional)
It’s best to use a stand mixer that comes with a bowl using the hook attachment. It makes the initial mixing process easy and I can clean up or start preheating the oven while it’s mixing.
The stand mixer I’ve suggested is the best mixer I’ve ever used. I had to sell it before moving to the Philippines because of voltage differences. I miss it and think about it often (matte black, pro-line, 7 quart, with a bowl-lift…ahh), but I have a new stand mixer that I use here which is a fraction of the price. It’s definitely not the same, not as powerful, and the attachments aren’t as durable, but I’m still very thankful for it because it makes my life easier as opposed to the old fashioned way of kneading by hand.
I already checked its availability in the US and my current one isn’t for sale, but I have found a similar stand mixer based on price, settings, and attachments. I’ve shared it here if this stand mixer is more in your price point. I have not used this specific brand, but it has great reviews and seems on par with the one I purchased here in the Philippines. The one I have looks almost identical and again, you really can’t beat the price.
If you don’t have a stand mixer, please read the recipe notes for instructions on how to make the basic yeast bread dough by using a bowl and wooden spoon, then kneading the dough by hand on a lightly floured surface.
Ingredients
- 1¼ cup warm water (110°F – about 296g)
- 2 tbsp sugar (raw or refined – about 30g)
- 2 tsp instant yeast (about 8g)
- ¼ cup olive oil (extra virgin – about 53g)
- 4 cups flour (all-purpose or bread flour – about 480g)
- 1 tsp salt (about 7g)

You will find that most basic yeast bread dough recipes contain the same ingredients: yeast, flour, water, and salt. Different fats can be added for flavor like butter or oil, and different liquids can be used such as milk instead of water. Once you’ve learned the basics, you can experiment and try out your own way by building upon this basic yeast bread dough recipe.
Instructions


Step 1
Combine 1¼ cup water (about 296g), 2 tbsp sugar (about 30g), and 2 tsp yeast (about 8g) in a stand mixer bowl. Allow the yeast to activate in the bowl for 10 minutes. Yeast will begin to foam.


Step 2
The 4 cups flour (about 480g) will be added gradually, as directed. Add ¼ cup olive oil (about 53g), 2 cups flour (about 240g), and then 1 tsp salt (about 7g) on top of the flour, into the bowl. Mix the ingredients with the hook attachment on a stand mixer using the lowest setting. Mix for 3 minutes.
Step 3
Scrape down the sides with a spatula if needed. Add the third cup of flour (about 120g) and continue to mix on low for another 3 minutes. A soft dough ball will begin to form.
Step 4
Add the remaining cup of flour (about 120g) to the dough and continue to mix on low for another 3 minutes or until the dough is soft but not sticking to the sides of the bowl.
*If refrigerating or freezing the dough to be used for later, skip step 5, the proofing step. Please see additional storage instructions in the How to Store section.
Step 5
Remove the bowl from the stand mixer and cover with a kitchen towel. Allow the dough to rise for 30 minutes in a warm spot.
Step 6
Once the dough has doubled in size, gently punch down the dough to release any built up air. Return the bowl to the stand mixer and mix on low for 6 minutes.
Step 7
Remove the bowl from the stand mixer, cover with a kitchen towel and allow the dough to rise for another 30 minutes in a warm spot.
Step 8
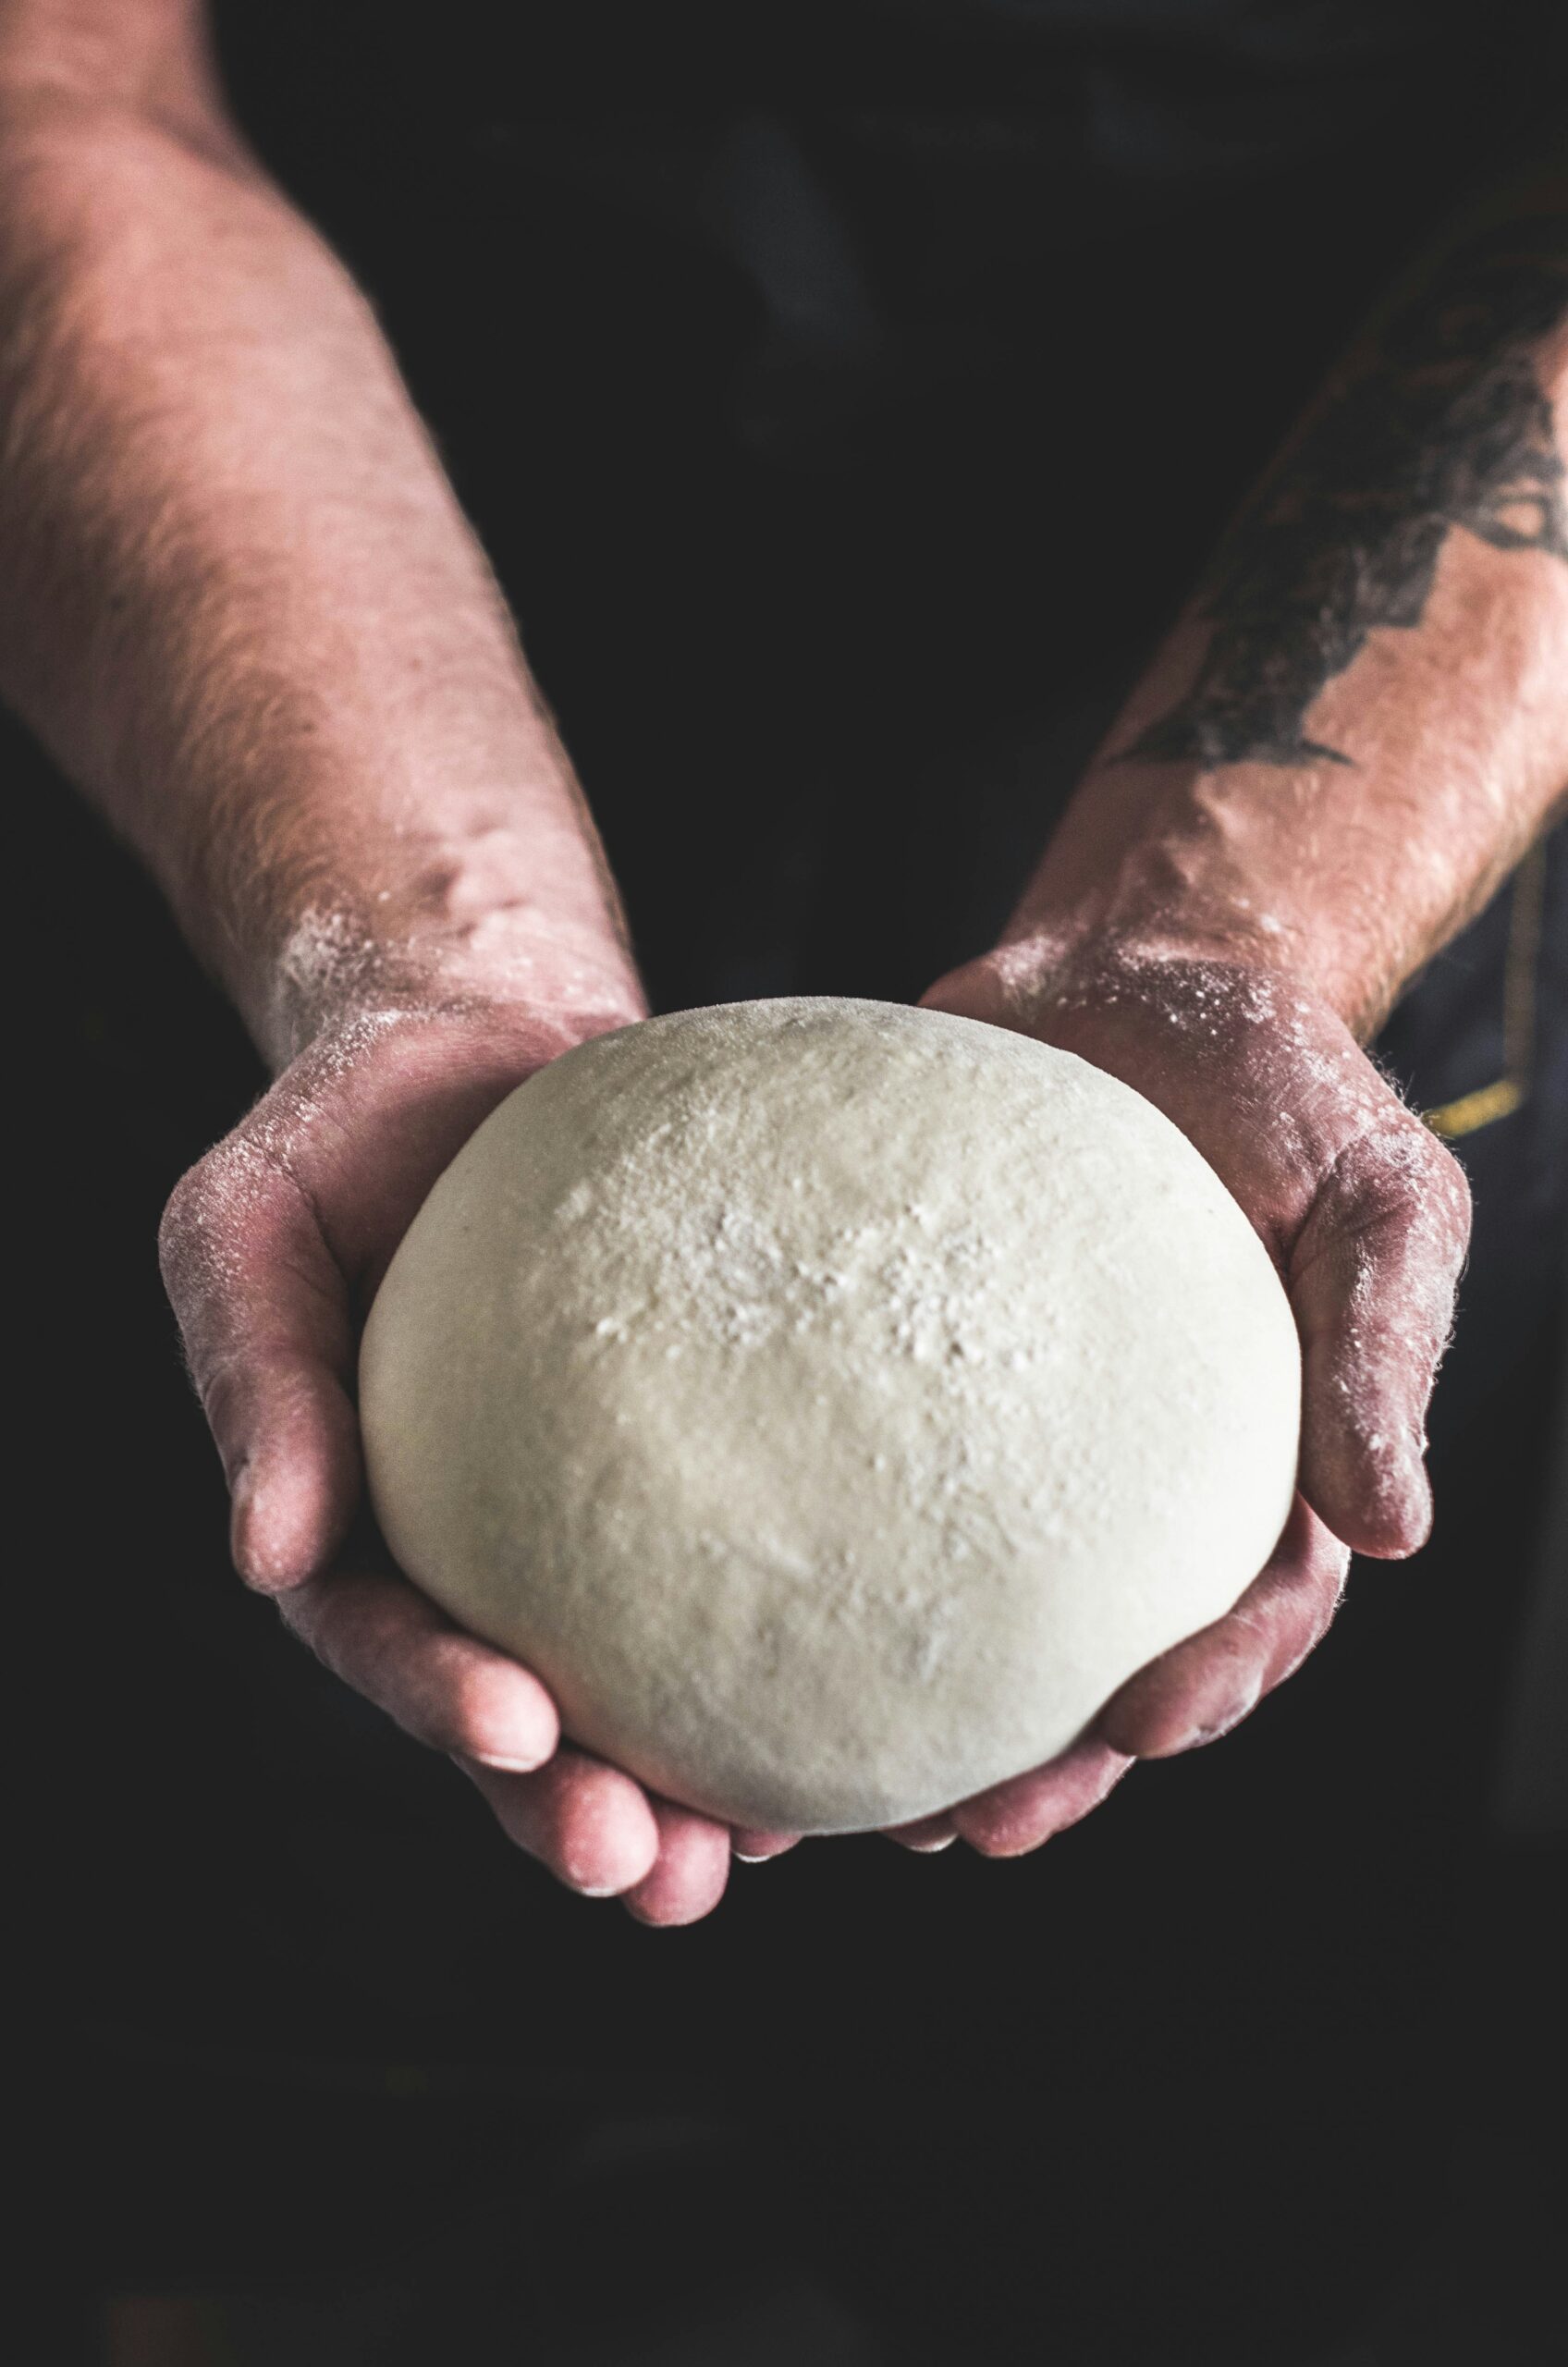
Once the dough has doubled in size, remove the dough from the bowl. The dough is ready to be used to make a whole loaf, or divided and rolled to create 4 sub sandwich rolls, or into balls to create 24 dinner rolls, or 8 hamburger buns.
Notes
If you don’t have a stand mixer, not to worry! Wherever the instructions mention to mix on low, this is where you’ll be kneading the dough by hand, at first in the bowl with a wooden spoon (steps 1 & 2) and then on a lightly floured surface (steps 3 & 4) once a soft dough ball begins to form.
The first step instructs you to activate the yeast. Most bakers skip this step if using instant yeast. I like to include this step to ensure the yeast hasn’t expired.
If refrigerating or freezing the dough to be used for later, skip step 5, the proofing step. Please see additional storage instructions in the How to Store section.
On steps 5 & 7, your kitchen counter is a good spot to allow the dough to rise, unless, if you have a cold kitchen like I do. In that case, I like to use my oven with only the oven light turned on as a warm spot for proofing. Do not allow the dough to rise in the oven while preheating it. Doing so could kill the yeast and lead to uneven baking.
Make sure to allow the dough to proof (final rise) after the dough has been shaped into one loaf, multiple loaves, rolls, or buns, before it is baked.
How to Store
You will want to complete step 4 and then form the dough into a ball, lightly coat it with oil, and wrap the dough ball with plastic wrap before placing it in the refrigerator or freezer.
If frozen, allow the dough to thaw overnight in the fridge when you’re ready to bake. Allow dough to come to room temp before proceeding to the remaining steps in the recipe, steps 5 and 6.
This pre-proofed dough can be stored in the refrigerator for 3-5 days or in the freezer for up to 1 month.
Common Questions
The yeast didn’t bubble, is it still usable?
Maybe, but most likely no. Did you allow the yeast to sit with warm water and sugar for at least 10 minutes? Try covering the bowl if you have a fan or AC running. If that still doesn’t work and you’re not seeing bubbles forming, the yeast you’re using may be inactive or expired, rendering it unusable.
My dough isn’t sticky, what should I do?
Add a tiny bit of water and work it into the dough until slightly sticky. If it’s not enough, add a tiny bit more and keep kneading the dough.
My dough is too sticky, it’s not forming into a ball. What should I do?
Add a tiny bit of flour and work it into the dough until slightly sticky. If it’s not enough, add a tiny bit more and keep kneading the dough.
Basic Yeast Bread Dough
As an Amazon Associate, I earn from qualifying purchases at no extra cost to you. This post contains affiliate links.
Equipment
- stand mixer with bowl (dough hook attachment)
- wooden spoon (if not using stand mixer)
- large bowl (if not using stand mixer)
- kitchen scale (optional)
Ingredients
- 1¼ cup water (warm, 110°F)
- 2 tbsp sugar
- 2 tsp yeast (instant)
- ¼ cup olive oil (extra virgin)
- 4 cups flour (all-purpose or bread flour)
- 1 tsp salt
Instructions
- Combine 1¼ cup water (about 296g), 2 tbsp sugar (about 30g), and 2 tsp yeast (about 8g) into the stand mixer bowl. Allow the yeast to activate for 10 minutes. Yeast will begin to foam.2 tbsp sugar, 1¼ cup water, 2 tsp yeast
- The 4 cups flour (about 480g) will be added gradually, as directed. Add ¼ cup olive oil (about 53g), 2 cups flour (about 240g), and then 1 tsp salt (about 7g) on top of the flour, into the bowl. Mix the ingredients with the hook attachment on a stand mixer using the lowest setting. Mix for 3 minutes.¼ cup olive oil, 4 cups flour, 1 tsp salt
- Scrape down the sides with a spatula if needed. Add the third cup of flour (about 120g) and continue to mix on low for another 3 minutes. A soft dough ball will begin to form.4 cups flour
- Add the remaining cup of flour (about 120g) to the dough and continue to mix on low for another 3 minutes or until the dough is soft but not sticking to the sides of the bowl.4 cups flour
- Remove the bowl from the stand mixer and cover with a kitchen towel. Allow the dough to rise for 30 minutes in a warm spot.
- Once the dough has doubled in size, gently punch down the dough to release any built up air. Return the bowl to the stand mixer and mix on low for 6 minutes.
- Remove the bowl from the stand mixer, cover with a kitchen towel and allow the dough to rise for another 30 minutes in a warm spot.
- Once the dough has doubled in size, remove the dough from the bowl. The dough is ready to be used to make a whole loaf, or divided and rolled to create 4 sub sandwich rolls, or into balls to create 24 dinner rolls, or 8 hamburger buns.